It could be the leather-bound photo albums of your childhood that your grandmother has shown you, or it could be the numerous digital pictures in your Google backup that make you feel nostalgic. Either way, photographs play a vital role in our lives. While great pictures can be considered works of art, these mementos are so much more than just mere decorations.
We have gathered a list of techniques and tips to help you take that perfect shot, the one that you will cherish forever.
Capture that perfect picture with your phone or camera
Use the rule-of-thirds
The rule-of-thirds is one of the most effective composition rules, helping you take eye-catching pictures anywhere and anytime.
To understand the rule-of-thirds, imagine four lines – two spread across the image horizontally and two spread across vertically – creating 9 equal squares. It looks similar to a tic-tac-toe board. Some images will undoubtedly look better with the focal point at the center square. However, sometimes keeping the subject somewhat off-center at any of the other intersecting points can create a more aesthetically pleasing and beautifully-composed photograph.
Avoid shaking the camera
Shaking the camera while taking a photograph can cause a blurry photograph and ruin any good picture.

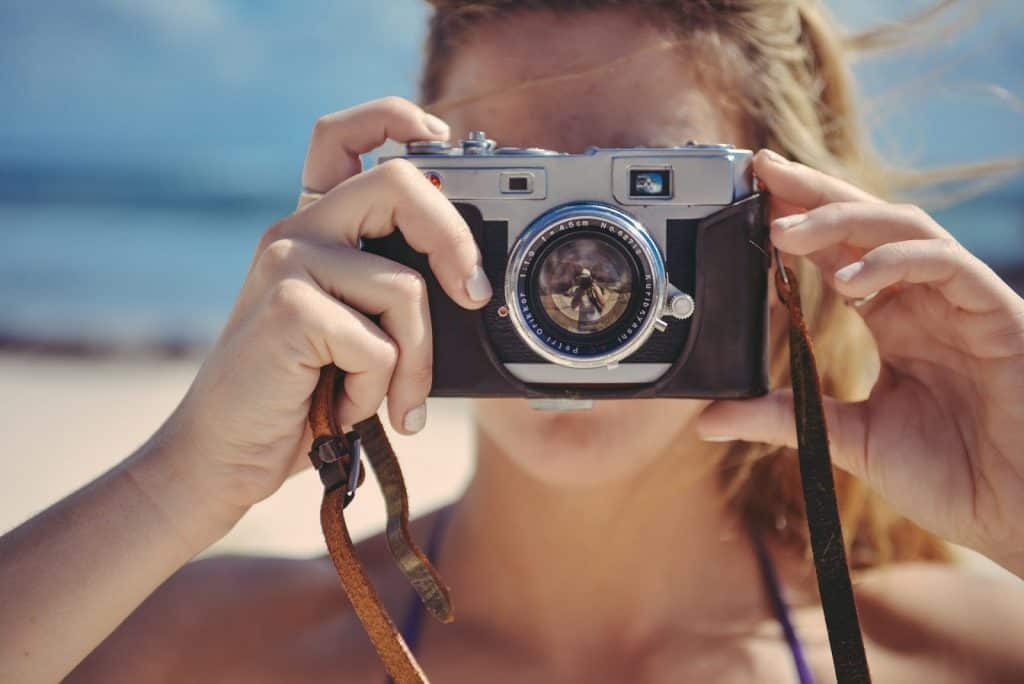
To avoid this, you must learn to hold your camera correctly. Use both your hands, one around the camera’s body and the other around the lens. Use your body as support to keep the camera steady.
If you are trying out handheld shooting, be sure to use a shutter speed suitable for your lens’s focal length. A slow shutter speed will result in the photograph coming out blurry if there is any unintentional movement of your camera. Therefore, never shoot at a shutter speed that is slower than your device’s focal length.
A tripod or monopod is advisable to use whenever possible.
Light is a must
Light plays a significant role in enhancing the beauty of a picture. The better lit your picture is, the clearer the image will turn out to be.
Study your lighting first before attempting to capture a photograph. Notice how the light interacts with the subject. Is it highlighting an area or casting interesting shadows? Try positioning artificial lights in different angles to see what looks best.
Shoot outdoors as much as possible. If shooting indoors, make sure you have proper lighting. Add an extra light source if you want and experiment with it.
Many cameras have a built-in flash or light that adds clarity to your shot. In case your camera does not have a flash, avoid shooting into bright lights as this will result in silhouetted subjects.
Think about the perspective
The composition of any photograph depends largely on its perspective. Something as simple as changing the angle or distance from where you shoot a picture can have a massive impact on the shot and change your image’s mood and meaning entirely.
A simple way to notice this effect is by shooting the same object from above and below. Shooting from above (a bird’s eye view) can make your subject seem very small, whereas shooting from below (a bug’s eye view) can make the same subject seem like its towering above you. Shooting from a distance will make the subject look insignificant while getting up close and having them fill up the entire frame conveys a sense of superiority and power.
So before capturing any shot, devote some time to thinking about the perspective. Walk around your subject, if necessary, to search for interesting angles. This will bring you one step closer to being a professional photographer.
Create depth
Finding ways to create depth is of utmost importance if being a professional photographer is your goal. Ignoring this simple little rule can lead to flat and boring photos.

A brilliant way to convey depth in images is by including various elements in the background, middle ground, and foreground. For instance, instead of shooting a portrait where your subject is standing up against the wall, bring them closer to your camera or try finding a better and interesting background with some depth.
You can also apply leading lines to bring life to your pictures. Leading lines are lines that lead from the foreground to the background of a scene. To ensure its effectiveness, frame the shot so that the line starts in the foreground, leading into the distance towards your main subject.
Leading lines could be anything – a path, a river, a road, a fence, a row of trees or a railway line. Almost anything can be used as a leading line as long as it draws the viewer’s eye into the image.
Try out the bokeh effect
The bokeh effect is beneficial when you are trying to add depth to your pictures. By definition, bokeh is that intentional out-of-focus blur effect used by professional photographers. They often use this effect when they want to keep the subject crisp and clear, while the background is made soft and blurry. This beautiful contrast surely makes the subject pop out of the background and enhances its magnificence.
A simple way to achieve this is by bringing your subject closer to the camera and capturing the shot in front of a distant background. This applies to both smartphones and cameras. However, it does help if you have a zoom lens. Use this with the maximum focal length to decrease the depth of field and create an even more prominent bokeh effect.
Fill the frame
If you want to polish your photography skills, “filling the frame” is a piece of crucial advice given to all photography students. If you leave too much space around your main subject, the distracting elements in the background will take the focus away from it.

For instance, when shooting a portrait, you can include the person from the waist up or fill the frame with just their face. This has a much more captivating effect on the photo, while making it look extremely professional since all the extra space is cropped out.


Leave a reply